

Running the storefront
The storefront is the public shop. It has no data of its own: every product, price, stock level and page title it shows is read from the back office, and every order it takes lands in Sales → Sales Orders. This page is for the person who keeps the shop’s catalog in order and handles its orders. Setting the storefront up (hosting, its API address, sign-in provider) is developer work, covered in the storefront contract.
Before you start:
- A staff login for the back office. Editing products, brands and categories needs the catalog permissions your role gives you.
- At least one product with a priced variant, so there is something to sell.
- To try things without touching a real shop, use the demo: the store at
shop.demo.fincas.dev reads from the back office at
demo.fincas.dev/erp/ (sign in as
demo/golden-demo).
Know where each part of the shop comes from
Section titled “Know where each part of the shop comes from”| On the storefront | Comes from, in the back office |
|---|---|
| Product title, SKU, brand | Inventory → Products, the product’s Product Info card (Title, Part number, Brand) |
| Product text | The product’s Short description, or the start of Description when that is empty (up to 300 characters) |
| Price | The variant’s Sale price, or its Retail price when there is no sale price. A product card shows the lowest price among its variants |
| Variant picker | Each variant (in the Variants card) that is active, visible on the website and has a price |
| “In stock” / “Out of stock” and the count | The variants’ Stock and Stock status |
Category and brand pages (/c/<slug>/, /brands/<slug>/) |
Inventory → Categories and Inventory → Brands |
| Page titles and search snippets | The SEO card on the product, brand or category |
| Images | The Images card (Primary image id, Thumbnail image id; Logo image id and Banner image id on brands) |
Some things the shop does not take from the back office yet:
- Price lists and quantity breaks. The storefront shows the variant’s own sale or retail price. Prices and breaks you set in Pricing → Price Lists apply to quotes and orders in the back office, not to the shop.
- Discount codes. The coupon box at checkout knows only two built-in sample codes (
SAVE10andFLAT50). Codes in Sales → Discount Codes are not checked, and the discount is not applied to the order that arrives. - Shipping and tax. Checkout shows “Calculated on dispatch” for freight and “$0.00 (Exempt)” for tax. Both are fixed text; staff set shipping and tax on the order.
Stock follows your warehouses: when a variant has stock rows in Inventory → Warehouses, its Stock is the total on hand across active warehouses and updates when you receive, count or adjust. Stock status does not change by itself; set it yourself when a product sells out or goes on backorder.
Images are not uploaded in the back office. An image id is the file’s name on your image CDN, and pictures appear only when your deployment has its CDN address configured. Without one, the shop shows products with no image.
Put a product on the storefront
Section titled “Put a product on the storefront”A product shows up in the shop only when the product itself and at least one of its variants are switched on for the website. The storefront API filters on exactly these flags.
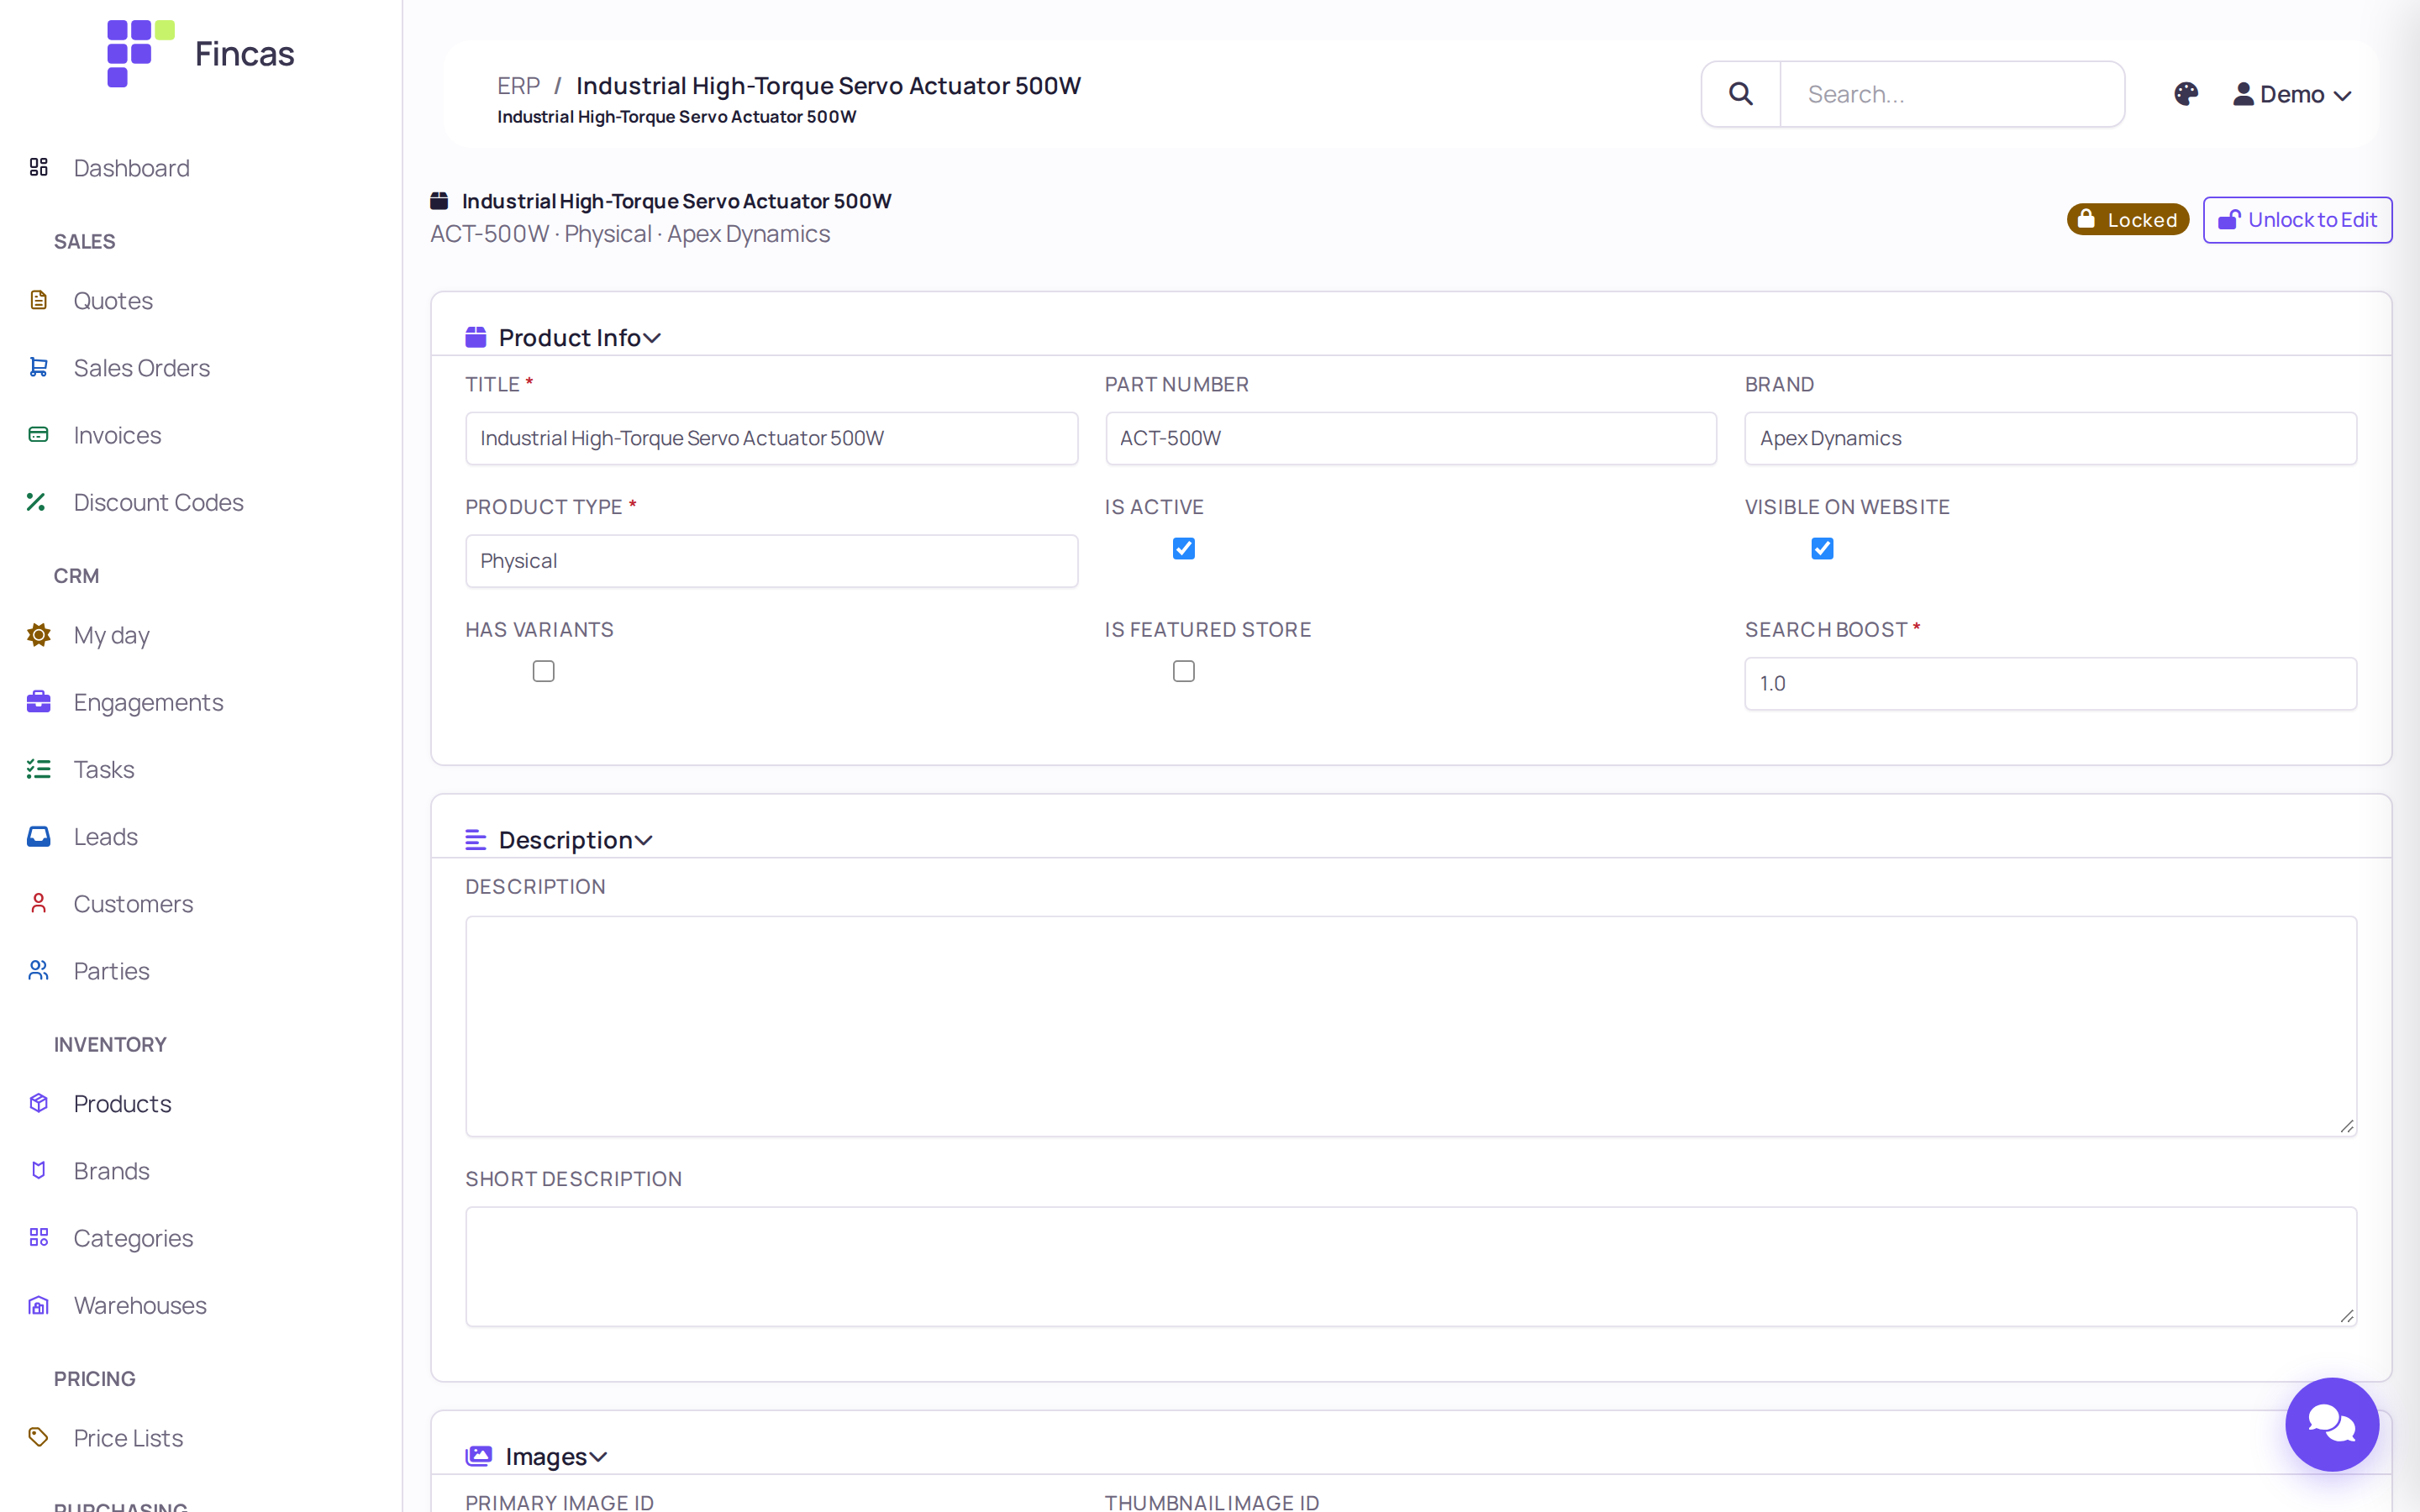
- Open Inventory → Products and click the product’s SKU. The page opens Locked; click Unlock to Edit.
- In Product Info, tick Is active and Visible on website.
- In the Variants card, check each variant you want to sell: tick Is active and Visible on website, and fill in Retail price (and Sale price if it is on sale).
- Under Stock, check Stock and Stock status.
- Give the product a brand and a category that are themselves visible (see the next section), so it is listed on their pages.
- Click Save.
What the shopper can then do depends on the variants:
- No variant has a price: the product page says “Price on request” and the product cannot be added to the cart.
- Stock is 0, or Stock status is Out of Stock: the page shows “Out of Stock — Cannot Add”. This also applies to Preorder and Backorder while Stock is 0.
- Otherwise the shopper picks a variant and a quantity and clicks + Add to B2B Cart.
Set up category and brand pages
Section titled “Set up category and brand pages”- Open Inventory → Categories (or Inventory → Brands) and click the name.
- Tick Visible on website. A category is also hidden when any category above it (its Parent, and so on up) is hidden.
- Fill in Description. Categories also have Short description and Page Body Copy, a longer text shown on the category page.
- Fill in the SEO card: Seo title (up to 60 characters), Seo meta description (50 to 160 characters), and optionally the Seo og fields used when the page is shared. Categories also have Seo canonical url; leave it empty unless another URL is the main copy of this page.
- Click Save. If the SEO text looks like filler, is too long or is cut off mid-sentence, a warning appears. The record still saves; fix the text and save again.
Products have the same SEO card (and variants an SEO (override) section). When an SEO field is empty, the storefront falls back to the plain name and the first sentences of the description; it never makes up copy. The full rules are in Storefront SEO.
Choose a theme and use the landing pages
Section titled “Choose a theme and use the landing pages”The storefront ships with 75 design themes. The Design Spec button in the shop header opens the theme switcher: search by name and click a theme to restyle the whole shop at once. Design Specs in the header lists them all with previews.
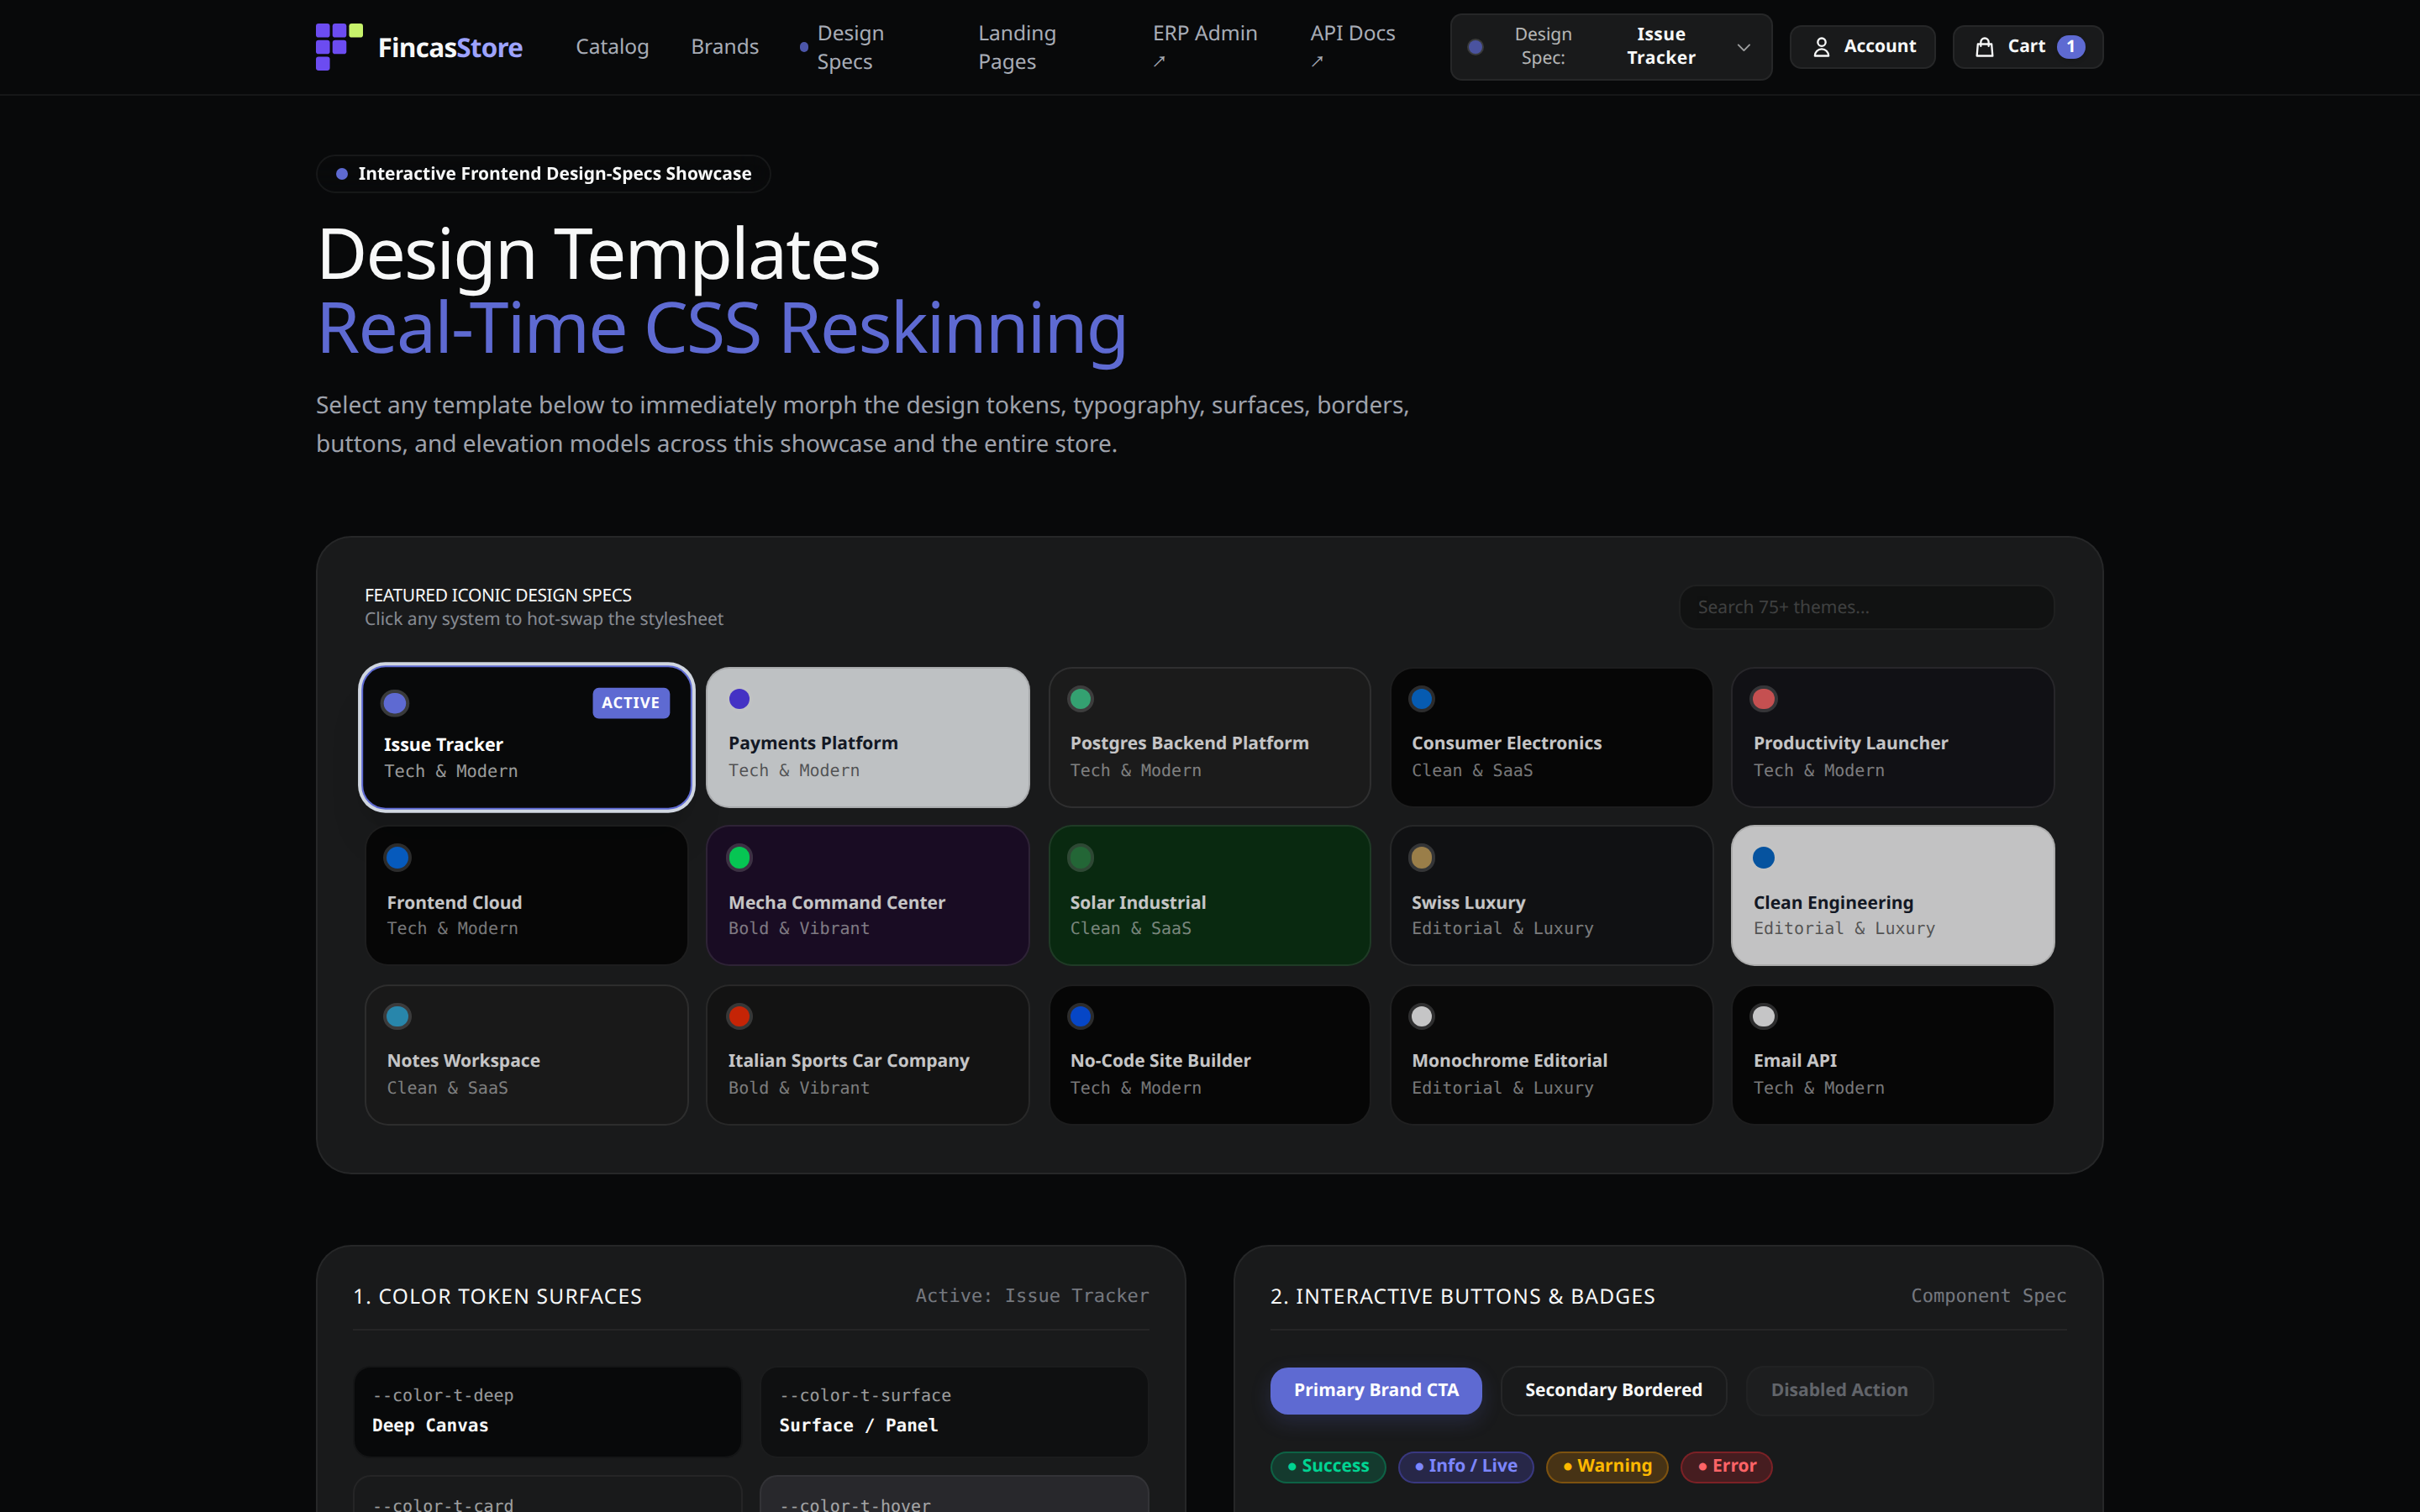
A theme choice is stored in the visitor’s own browser. It is not a back-office setting and other visitors do not see it. The theme every new visitor starts with is set in the storefront’s code, so changing the default is a job for your developer.
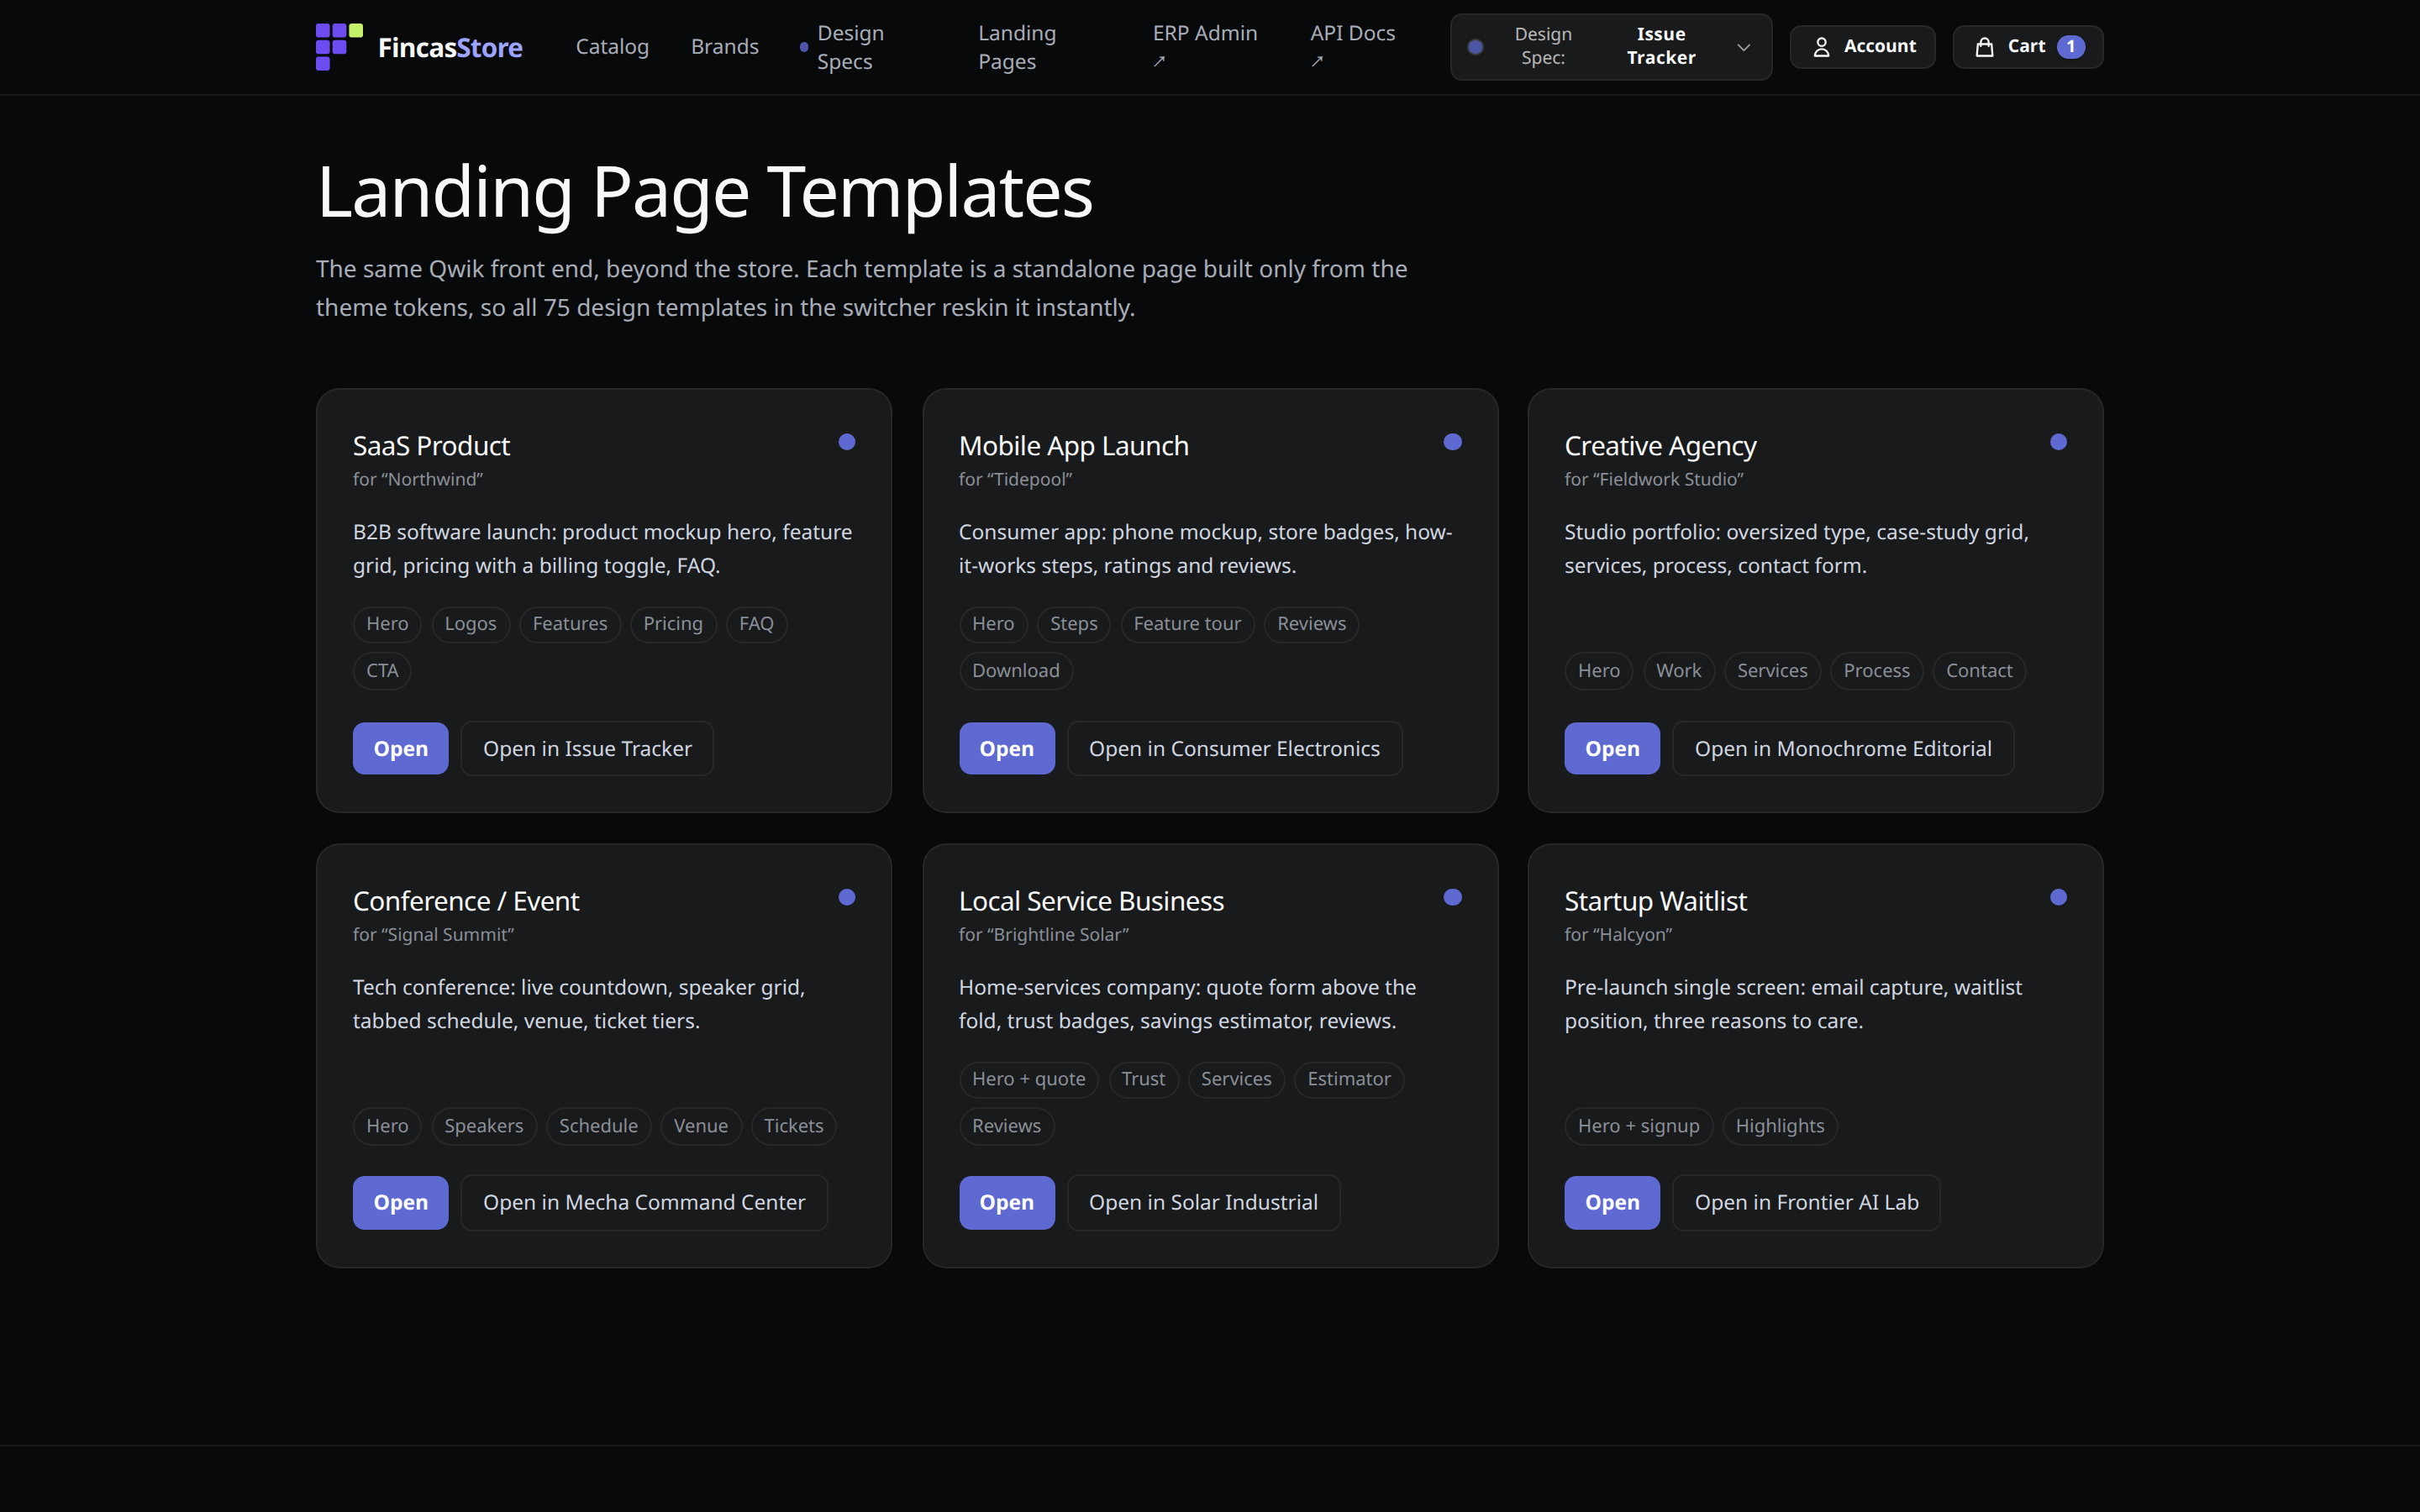
Landing Pages in the header lists six page templates (SaaS product, mobile app launch, creative agency, conference, local service business, startup waitlist), each with an Open link and a button to open it in a matching theme.
Handle an order placed on the storefront
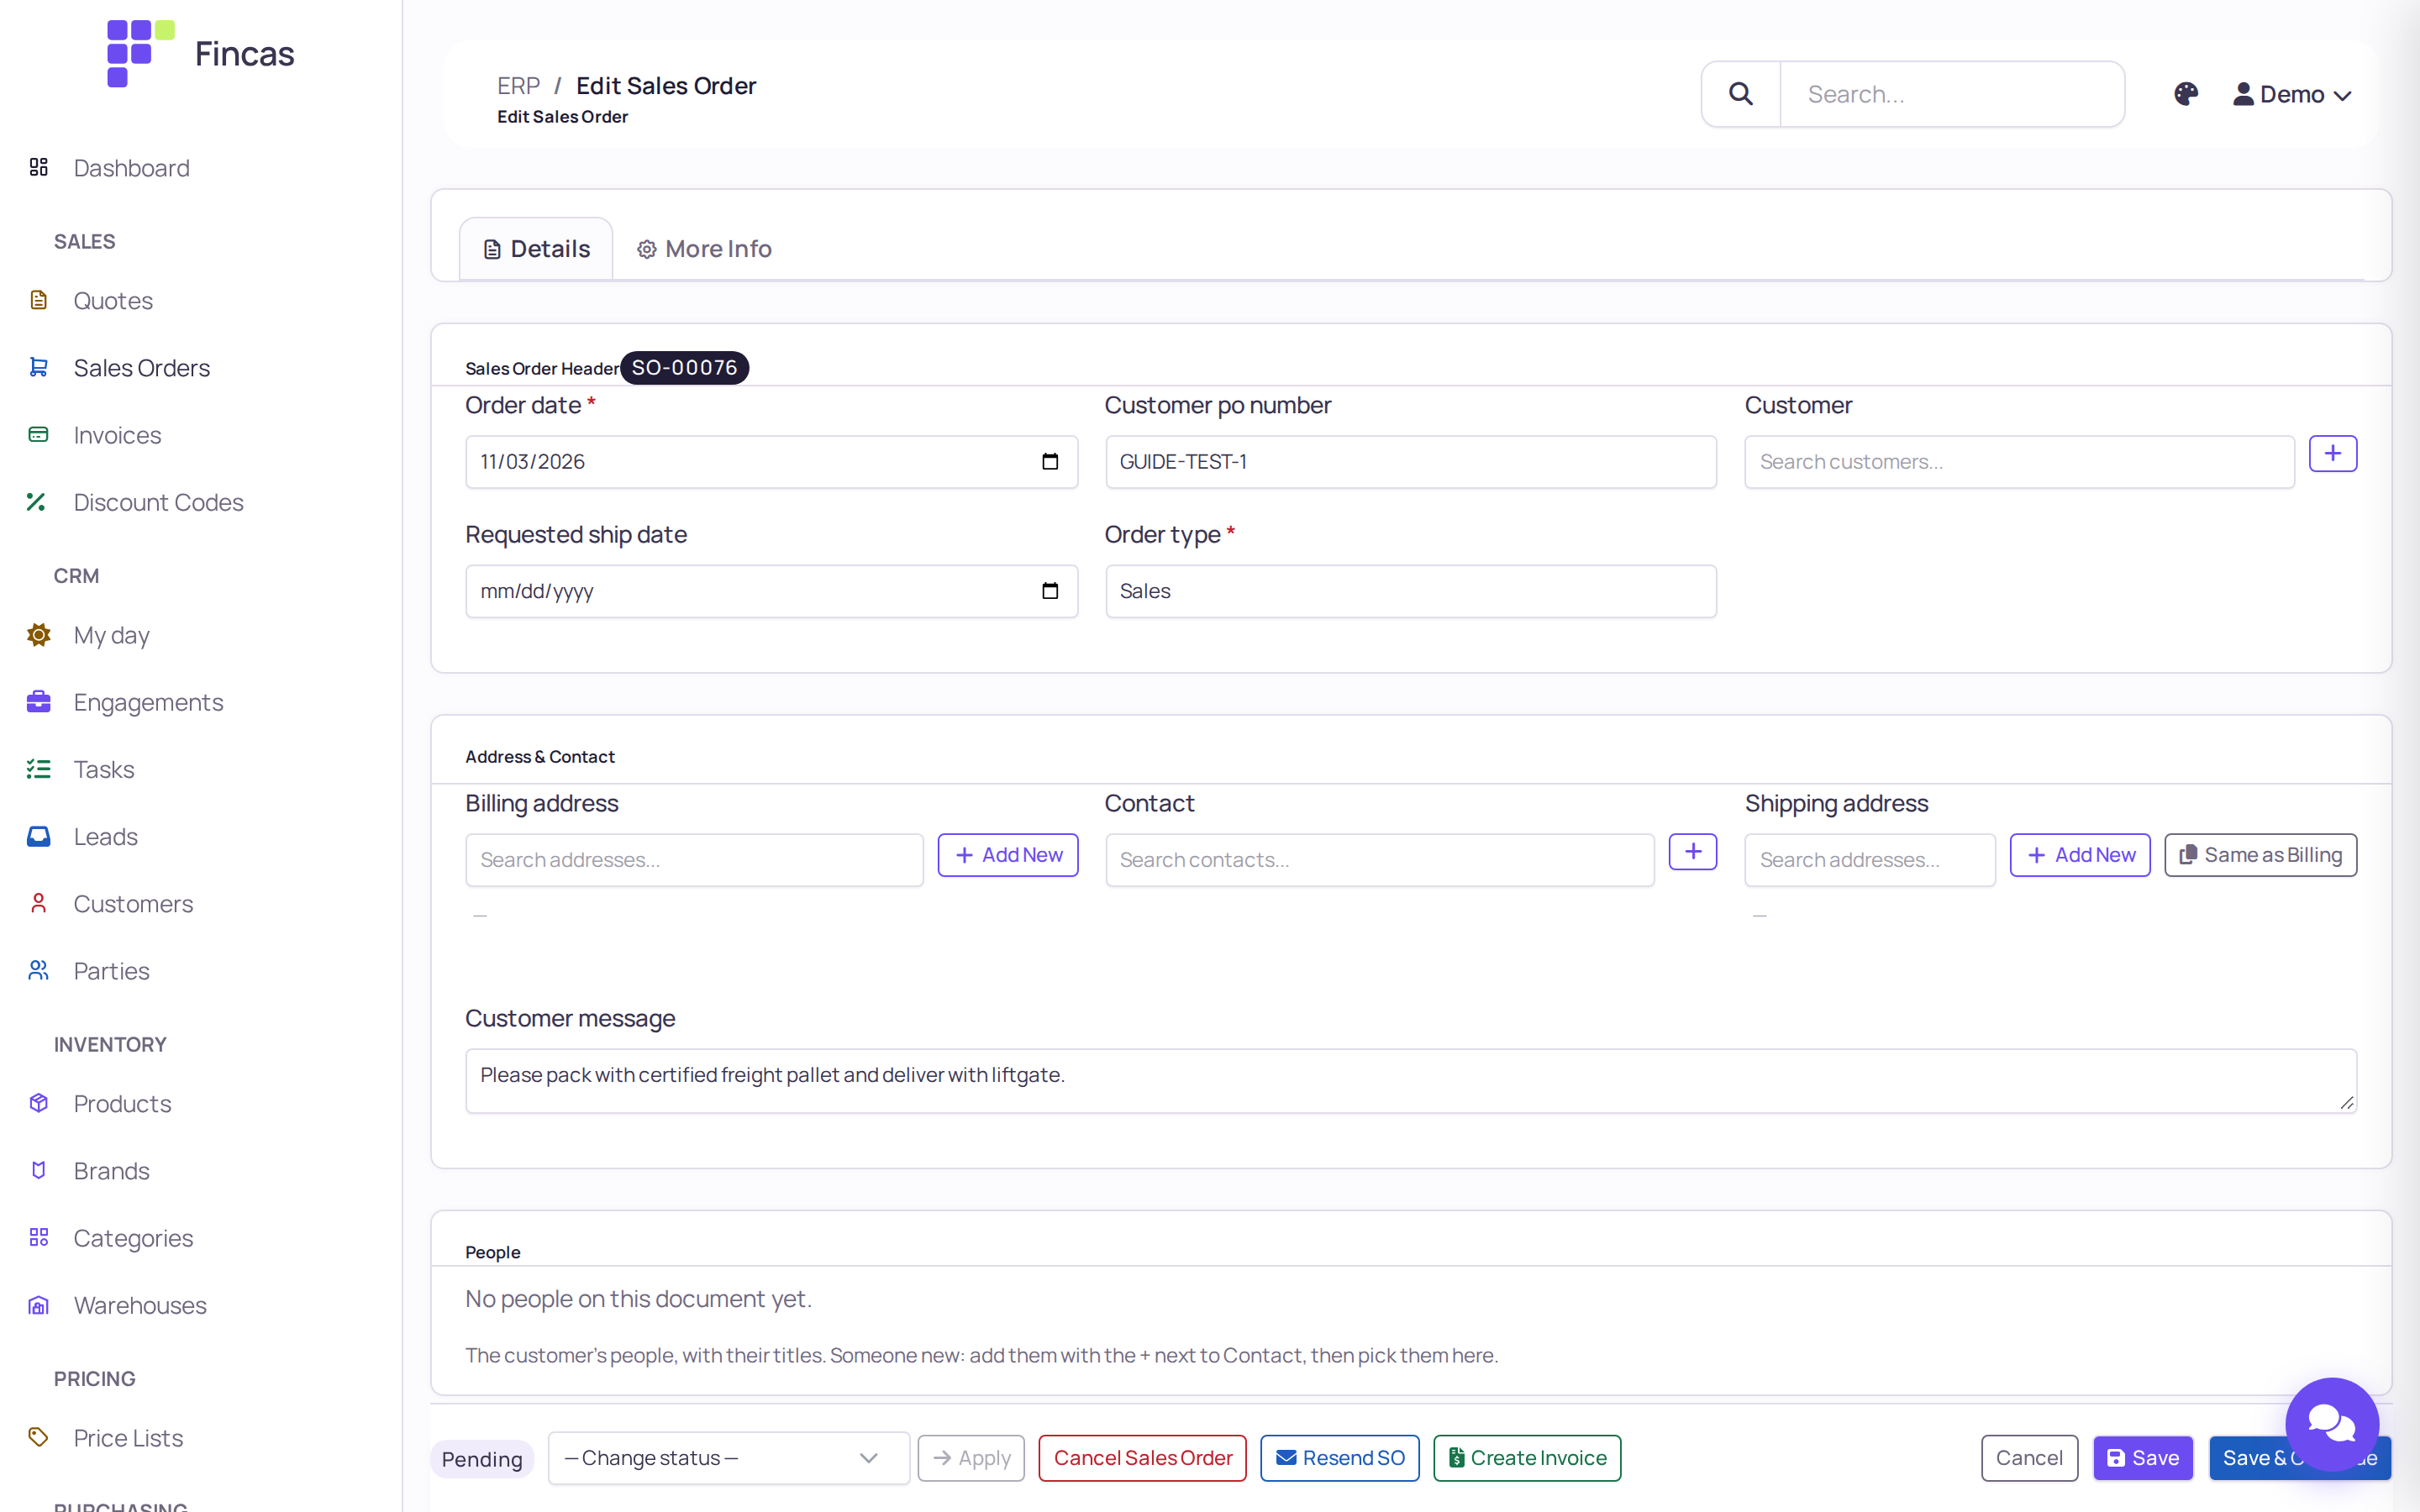
Section titled “Handle an order placed on the storefront”A shopper fills in the checkout page and clicks Submit B2B Order. The back office creates a sales order at once and the shopper sees “Order Successfully Placed” with the order number. The shopper does not need an account.
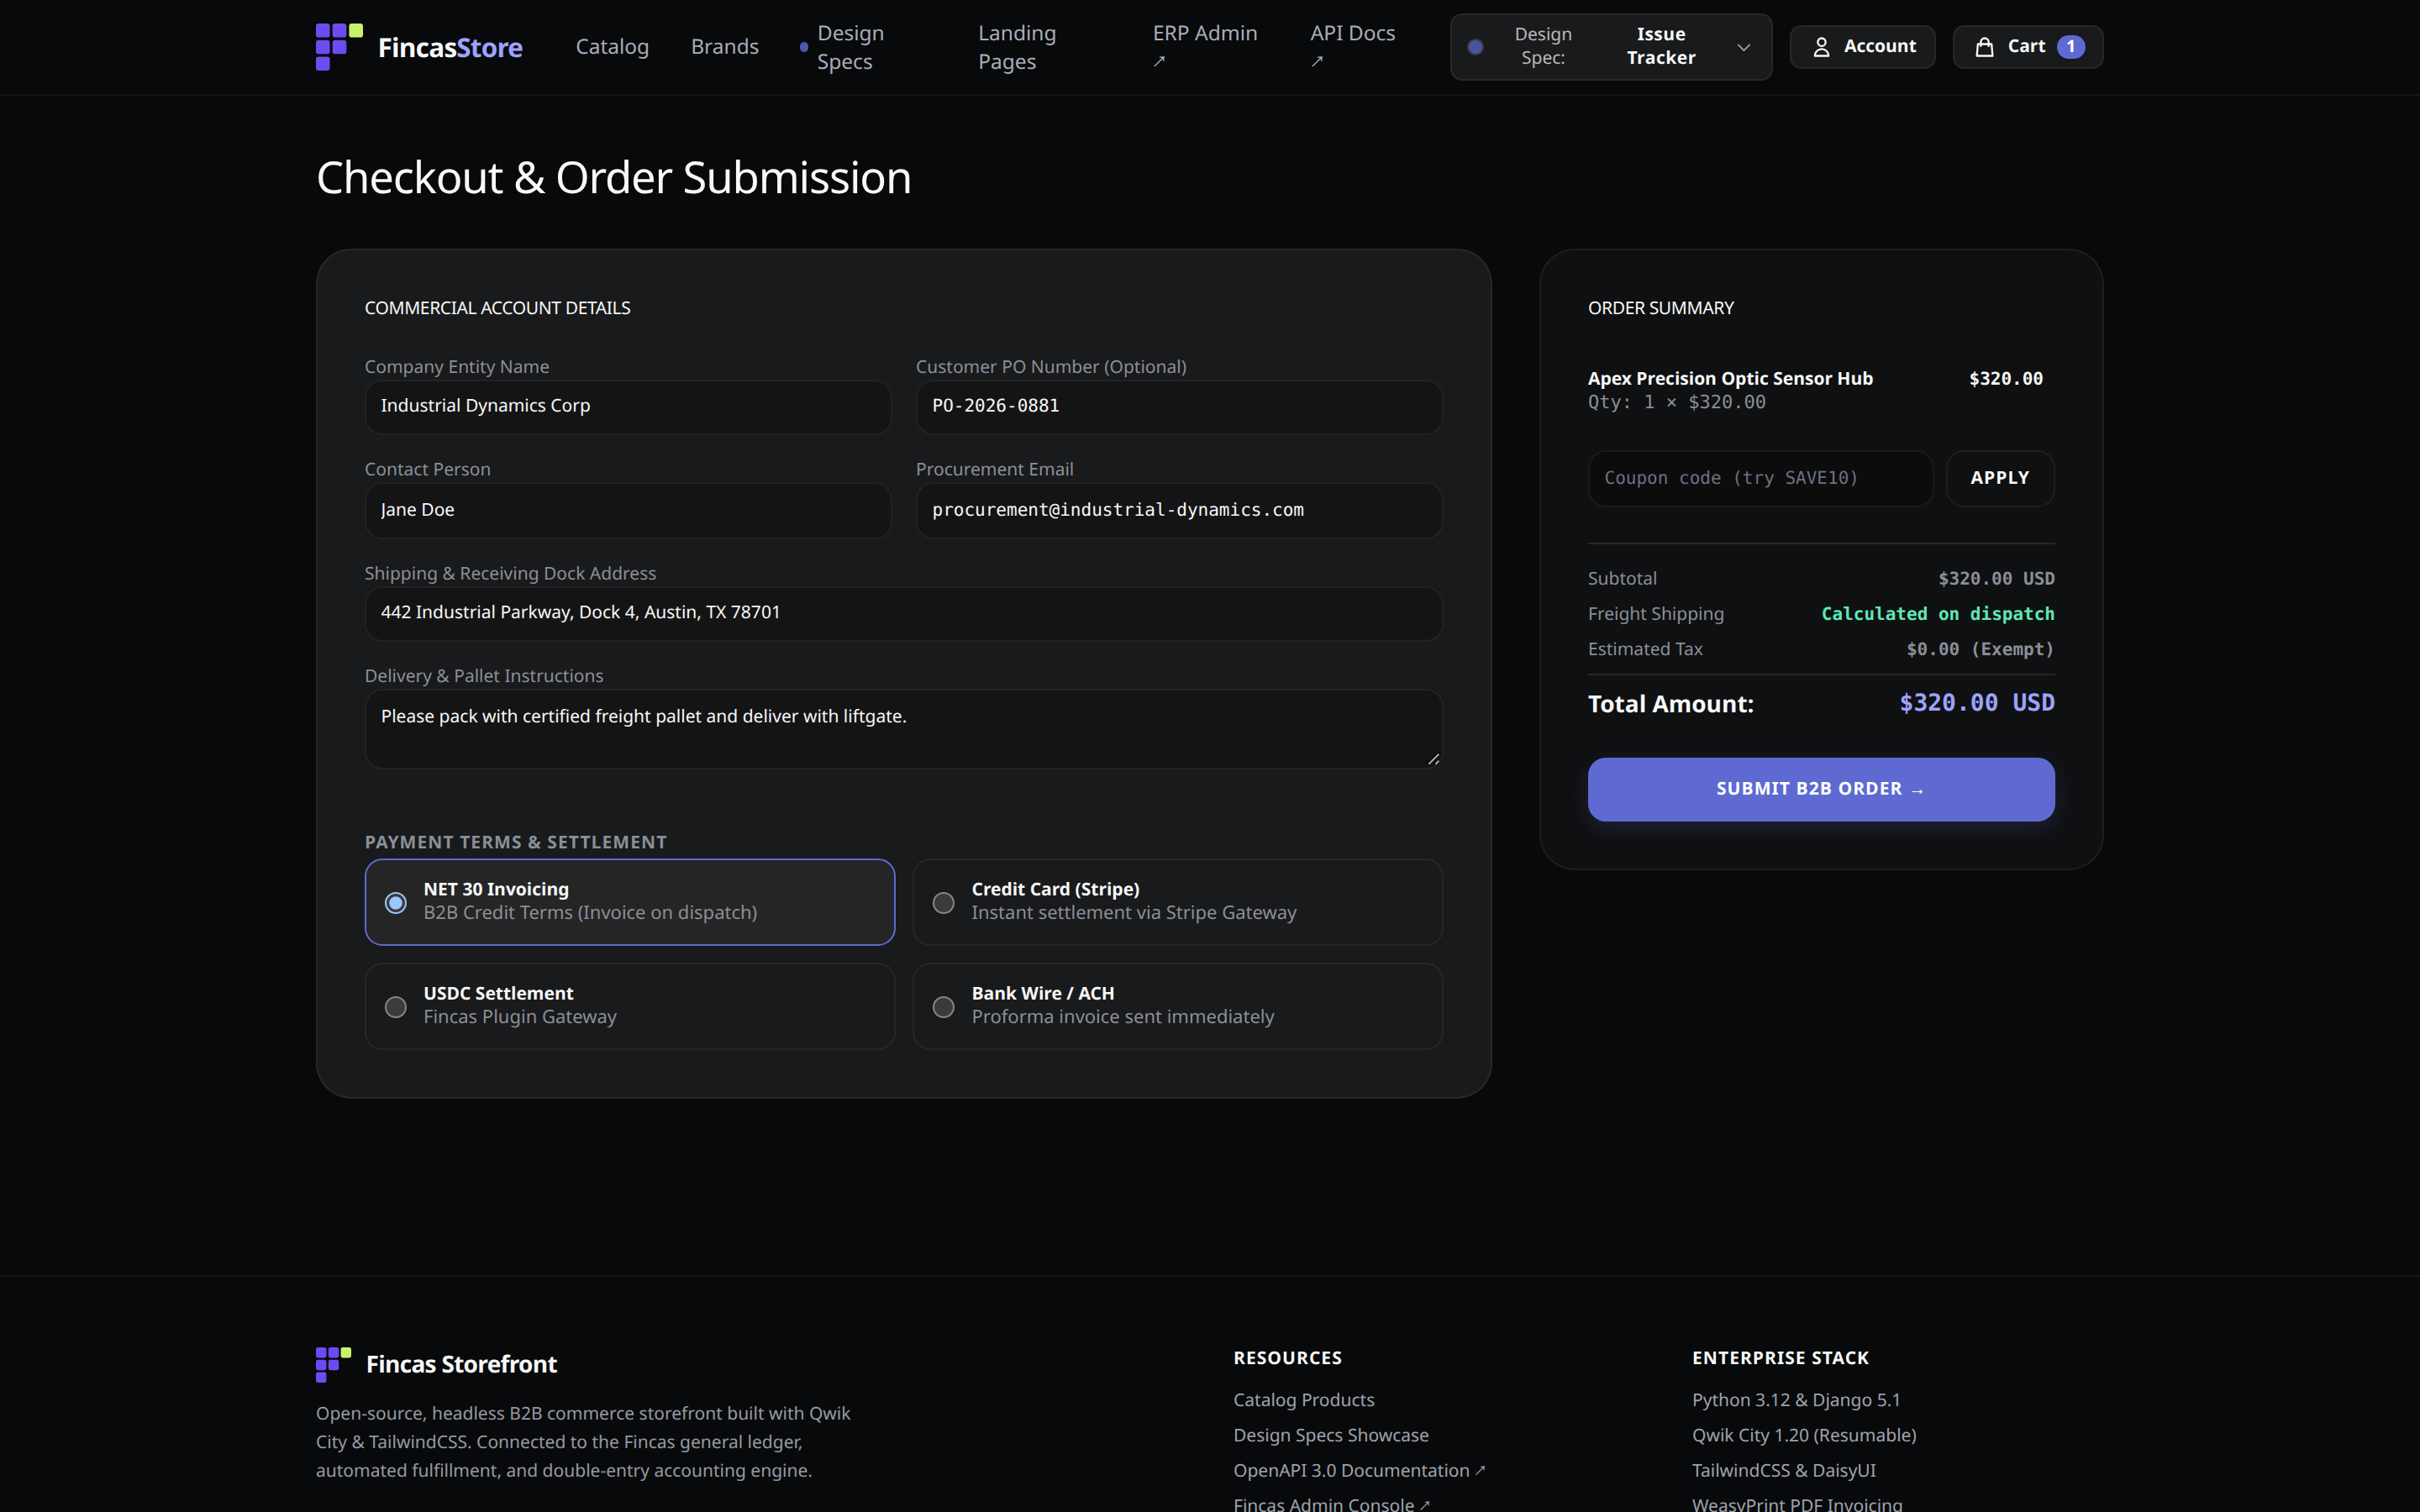
What the order holds when it arrives:
| Checkout field | On the sales order |
|---|---|
| Customer PO Number | Customer po number |
| Delivery & Pallet Instructions | Customer message |
| (fixed) | Status Pending, payment Unpaid; More Info shows the channel as storefront |
| Procurement Email, Contact Person, Company Entity Name, Shipping address, payment choice, coupon | Stored on the order, but not shown in the order editor |
| Cart lines | Not copied yet. The order arrives with no lines and a total of $0.00 |
No payment is taken. The four options under Payment Terms & Settlement (NET 30 Invoicing, Credit Card (Stripe), USDC Settlement, Bank Wire / ACH) only record which one the shopper picked. No card is charged and no invoice is sent.
- Open Sales → Sales Orders. A storefront order shows — in the Customer column and $0.00 in Total. Click its number.
- Read the buyer’s details. The editor does not show them yet; a staff user can open
/api/v1/orders/orders/<order id>/on the same server while signed in and readguest_emailand themetadatablock (contact name, company, shipping address, payment choice, coupon). The order id is the long id in the editor’s address. - Pick or create the Customer, then set the Billing address, Shipping address and Contact.
- Add the lines with Add Row: the products and quantities the shopper ordered, with the prices you agreed.
- Under Terms, choose Payment terms. The editor shows — Select — because the shopper’s choice is stored in a form it does not recognize; pick the right terms before you save.
- Click Save, then carry on as with any order (see Quotes, orders, invoices and payments).
Customer accounts
Section titled “Customer accounts”The Account link in the shop header leads to sign-in. A signed-in customer sees an account overview (name, email, company, account type, tax exemption, counts of orders and other records) and their orders under Orders, with each order’s lines and status.
- Sign-in needs a sign-in provider. Accounts work only when your deployment has connected one (currently Supabase). Without it, signing in answers “Customer accounts are not configured for this store yet”. The demo store is set up this way.
- There is no self-service sign-up yet. Create an account tells visitors that online sign-up is not open and to ask for an invitation.
- Invitations are sent through the API, not from a back-office button: an administrator posts the
customer’s id to
/api/v1/portal/invite/. The customer record needs an email address. The provider must confirm the email address before an account is linked to a customer. - Guest orders are not linked to a customer, so they do not appear under a customer’s Orders until staff set the order’s Customer.
Test the handoff
Section titled “Test the handoff”- In the back office, note a test product’s price, Stock and Stock status.
- In the shop, open that product. Check the price, stock count, brand and category against the back office.
- Add it to the cart and open Cart. Replace the sample values in the checkout form with your own
(the form opens filled in with example details). Use a PO number you can find again, such as
TEST-and today’s date. - Click Submit B2B Order and note the order number on the confirmation.
- In the back office, open Sales → Sales Orders, search for that number and open it. Check the Customer po number and Customer message.
- Cancel the test order with Cancel Sales Order when you are done.
Check your work
Section titled “Check your work”- The product appears in the shop’s catalog, on its category page and on its brand page.
- The shop’s price matches the variant’s sale price (or retail price when there is no sale price).
- Browser tab titles on product, category and brand pages match the Seo title you entered, or the plain name when you left it empty.
- A test order appears in Sales → Sales Orders within seconds, status Pending.
If something goes wrong
Section titled “If something goes wrong”A product does not appear in the shop. The product or all of its variants are missing Is active or Visible on website. If it shows in the catalog but not on a category or brand page, that category, one of its parent categories, or the brand is not visible on the website.
“Price on request” on a product that has a price list entry. The shop reads only the variant’s Retail price and Sale price. Fill in Retail price on the variant.
“Out of Stock — Cannot Add” although stock is on the way. The shop refuses the cart when Stock is 0, whatever the Stock status says, and it shows the same message for a product with no price. Check both fields.
A product shows no picture. Its Primary image id is empty, or the deployment has no image CDN configured.
The confirmation shows a total of $0.00. Expected for now: cart lines are not copied onto the order. Add the lines in the back office.
Checkout says “Order could not be placed”. The back office refused or could not be reached. The cart is kept; try again. If it keeps failing, guest checkout may be off: it needs exactly one company in the back office and storefront ordering switched on (see the storefront contract).
The shop says “The catalog is unavailable right now”. The storefront cannot reach the back office’s API. This is a deployment problem, not a catalog one; ask whoever runs the server.